Why caption your videos?
Knowing the right captioning tool is essential if you want to present slick videos that work on social even when the sound is turned off. With LinkedIn native video having a moment right now, these tools are must-have for everyone, B2C and B2B marketing alike;
3 Great Reasons To Caption Your Videos
- 85% of social media videos are played with no sound
- 39% of people are more likely to finish videos that have captions
- Closed captions perform better in search results
We completed 6 thorough reviews of captioning tools. Find out which one we liked best below.
1. Kapwing
Kapwing is a free online captioning tool, ideal if you are editing videos that are on your desktop. It’s purely a captioning app, so there are no fancy add-ons.
How to add captions to video using Kapwing:
1. Go to https://www.kapwing.com/ and upload a video from your files or paste a URL.
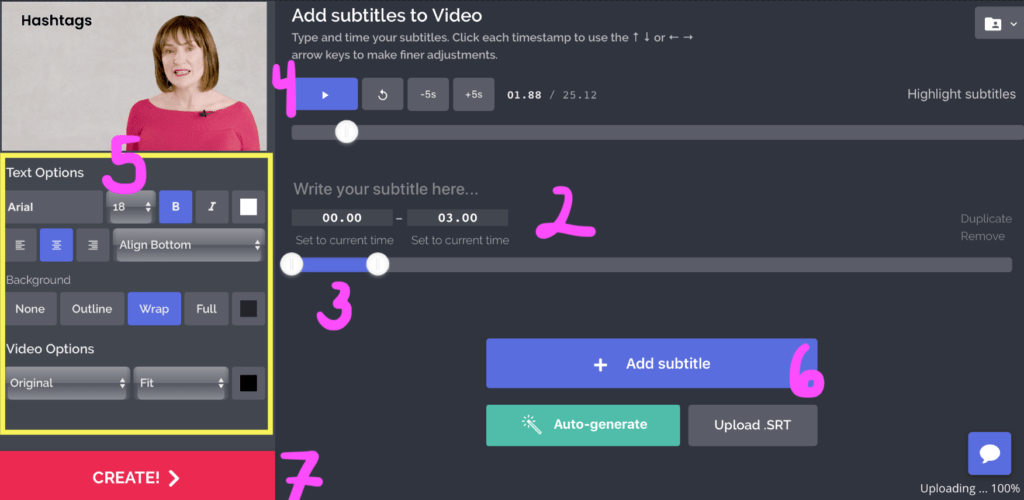
2. Start by typing your first subtitle in the box labeled below.
3. Set markers for how long the caption will be visible. Do this by sliding the white toggles to the proper time.
4. To preview a caption’s timing, click on the timestamp (labeled 00.00 and 03.00 underneath the caption text) or hit the rewind button highlighted below.
5. Adjust the font, size, and alignment using the left hand column labelled below.
6. Click “Add subtitle” and repeat the steps above.
7. Once you have finished entering your subtitles, click “CREATE!” on the bottom left hand side.
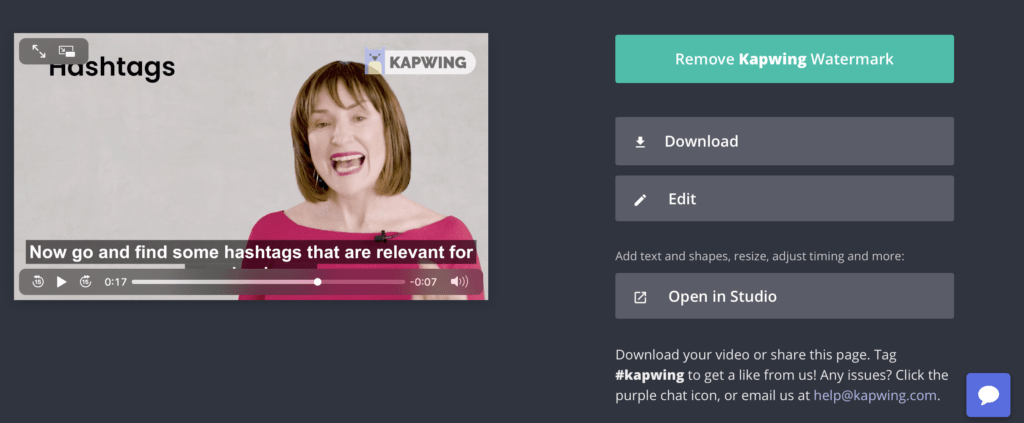
8. The finished video will refresh in the webpage where you can edit, download or remove the watermark by signing in.
https://www.youtube.com/watch?v=r5V8htiJOBY&feature=youtu.be
Our Verdict?
Kapwing is very easy to use. You just have to upload your video and everything is on the one screen. This is ideal if you want to work from your desktop and you need accurate captions.
The downside was fumbling between subtitles and not being able to pause the preview properly. It takes a bit of getting used to. That said, you will eventually get the hang of it and it is a breeze from there on.
Rating: 4/5 -Accurate, easy and on your computer.
2. Wave.video
Wave.video is a free online video editing service that allows you to add captions, logos, and other effects.
How to add captions to Wave.video:
1. Go to http://wave.video/ and sign up for your free account.
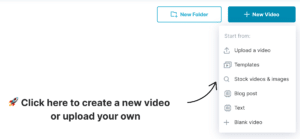
2. Upload your video or put together a new video using your media.
3. Begin editing your video by adding text.
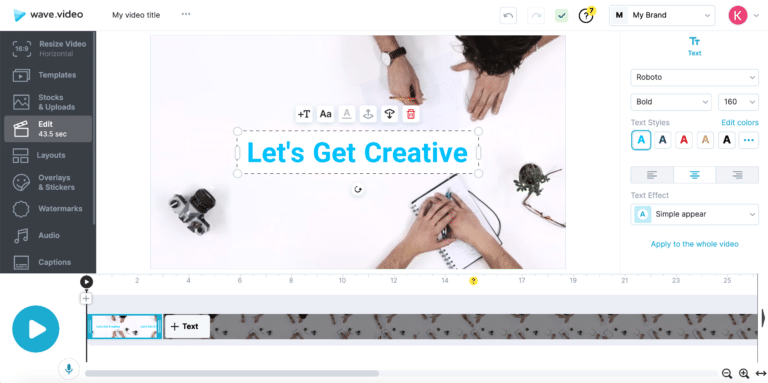
4. Have fun selecting font, colour, effect, and alignment.
5. Adjust the length of time for the text to appear over your video. If you would like to add more text click the ‘+Text’ icon on the bottom.

6. Once you finish adding your captions, name your video and click ‘Go to Video.’
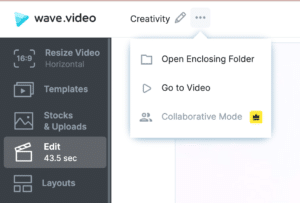
7. Now you can download your video or share the video page link directly on another platform.

Our Verdict?
We LOVE Wave.video.
- Adding text is so simple, anyone can do it.
- We’ve all run into last minute necessary video edits. We like that Wave.video also allows you to edit your video as well.
- There are also fun graphics so you can add a little spice to your video captions as well.
- Download, share, and organise all your videos with ease.
Rating 4/5 – Easy sign-up, easy to to use, and lots of easy functionality.
3. Quicc
This online captioning tool’s name speaks for itself. Quicc is a speedy tool that allows you to edit your captions conveniently.
How to add captions to video using Quicc:
1. Got to https://www.quicc.io/ and upload your video to begin editing.
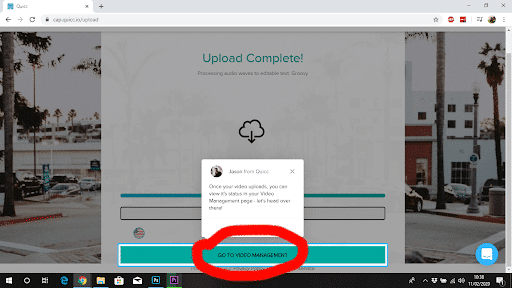
2. Select automatic subtitles and have a quick look to correct any mistakes.
3. Move the markers for how long the caption will be visible. Do this by sliding the blue toggles to the proper time. (Top toggle is the start of the sentence, bottom one is the end of the sentence).
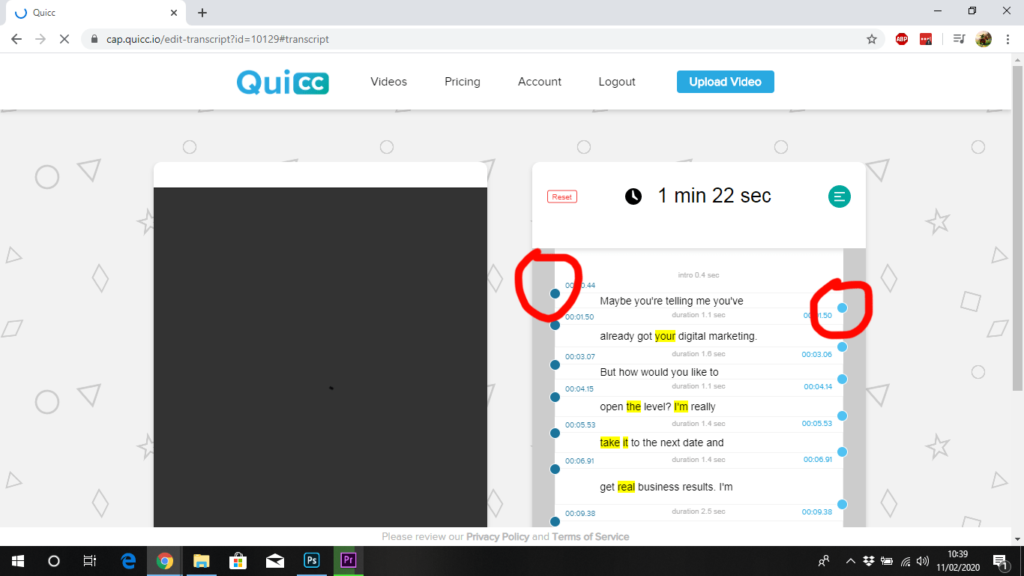
4. To preview a caption’s timing, click on the play button or press the space once you have selected the video.
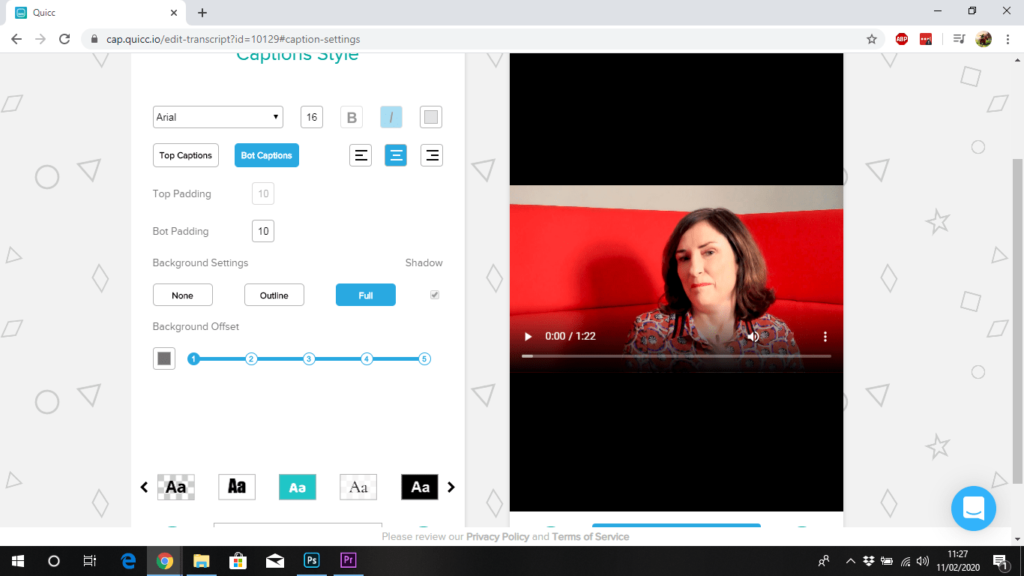
5. Adjust the font, size, and alignment by pressing on Aa button.
6. Once you have finished entering your subtitles, click “finalise Video” on the bottom left hand side.
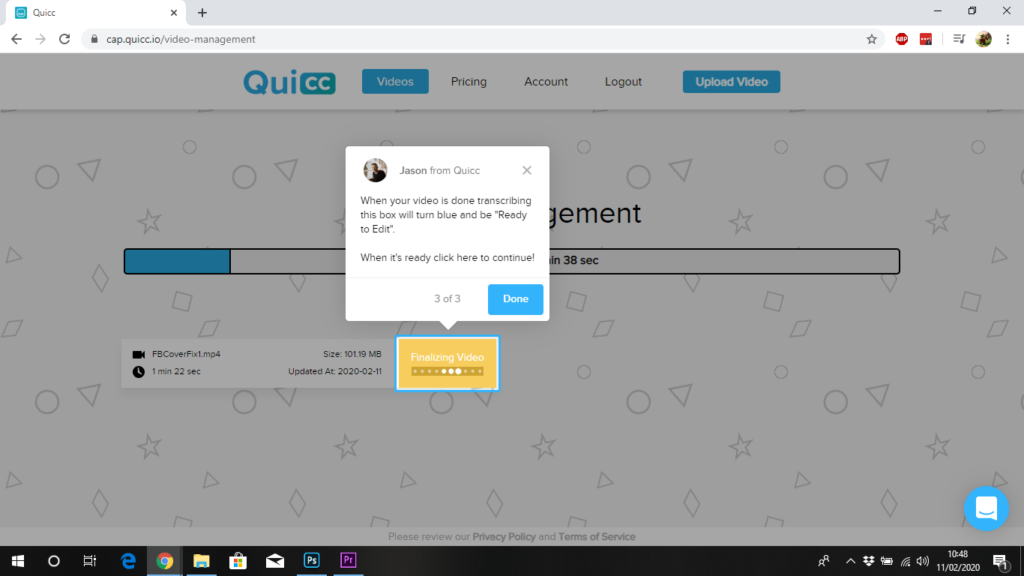
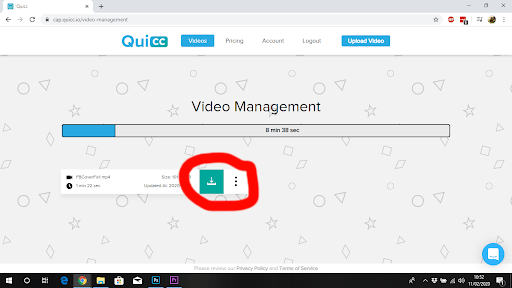
7. The finished video will refresh on the webpage where you can edit, download. It gives you the option of the footage and subtitles or just the subtitles.
Our Verdict?
This tool is very useful and an easy way to create subtitles. There is a free version, with a limitation on how minutes you can use. You get 10 minutes free and an added 2 minutes per month. This is great for short and/ or on-the-go video captioning.
Rating: 4.5/5 -Accurate and easy to use
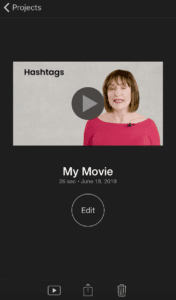
4. iMovie for iPhone
This is a free and easy to use app available on iPhone, that also has a desktop version on macOS. We like that we can enter our own subtitles and headers.
Steps to adding captions to video using iMovie:
1. Open the app and tap “Create Project”.
2. Tap movie → browse your library → tap multiple files if you want to combine multiple pictures/video into one movie.
3. Hit “Create Movie”.
4. Tap the gear icon on the bottom right for filters themes and misc.
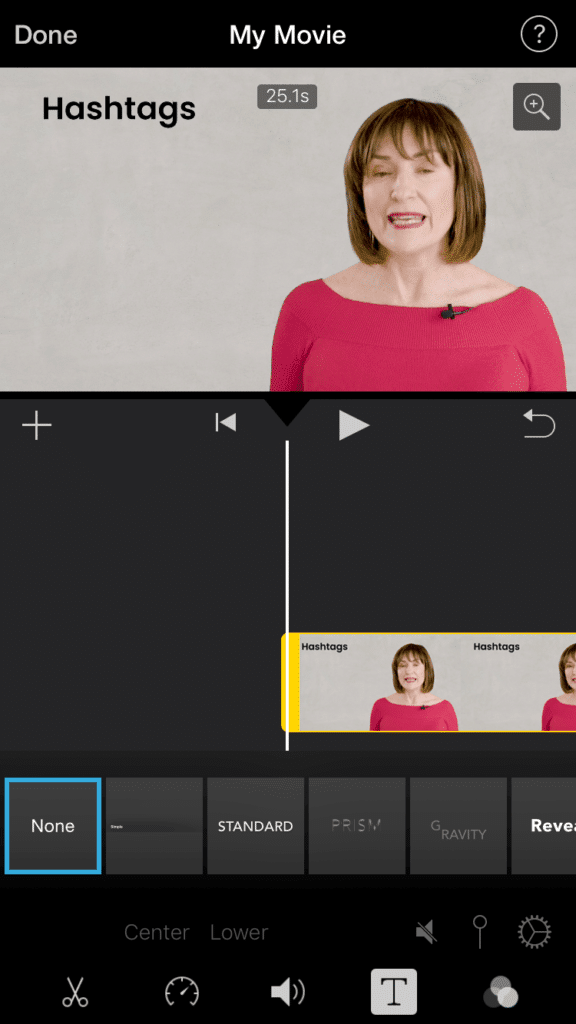
5. Add subtitles manually by tapping on the video → hitting the Text icon. I chose standard which was 3 levels of headers in all caps.
6. If using Standard, choose which height you want the subtitles to be then enter text. Make sure you delete the other headers if you are not using them or else it will show as “Title Text Here” in the final product.
7. To add new subtitles: tap the video again → slide the bar to where you need to cut the video at a new subtitle → tap scissors icon → hit split.
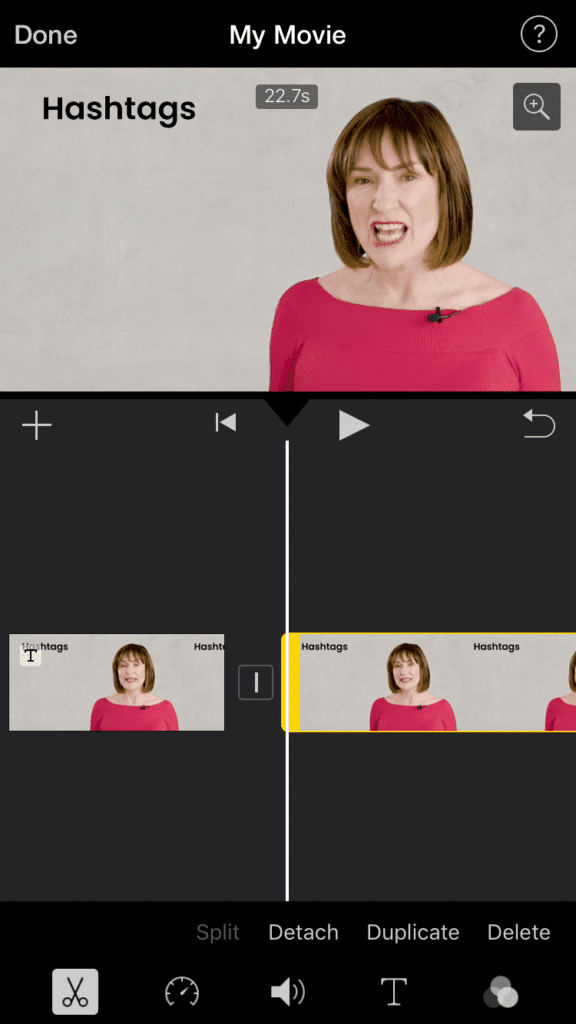
8. Tap the new clip and repeat the steps.
9. Once you have all of your captions, hit “Done” in the upper left.
10. Edit or share by tapping the button with the up arrow.
https://www.youtube.com/watch?v=Gxl-Y8BFPKg
Our Verdict?
We thought iMovie was extremely easy to use, and there were many options available for titles. Being able to control the caption accuracy was a plus.
We didn’t like the way you have to split the clips, which can become time consuming, and not being able to fully customise the captions was a bit limiting.
Rating: 3.5/5 – if you need simple and accurate captions (and you own an iPhone!)
5. Zubtitle
Zubtitle is a desktop tool that prepares your videos for social media posting. The best thing about is the range of fonts you can choose to add to your posts. If you are sick of the standard styles in Instagram, and want to stand out, Zubtitle is for you.
You can add video captions and top border headlines, a progress bar, and resize for sharing across your social media channels. Best of all, Zubtitle has a free option which allows you to add subtitles to your video, but you can upgrade for more options.
How to add captions to Zubtitle:
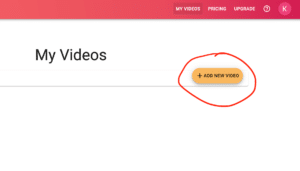
1. Go to https://zubtitle.com/ and sign up for the free account.
2. Near the top right corner, select “+ Add New Video” and upload a file from your computer or drag and drop it.
3. Type out the text you would like to use for your caption using the “Edit Captions” section.
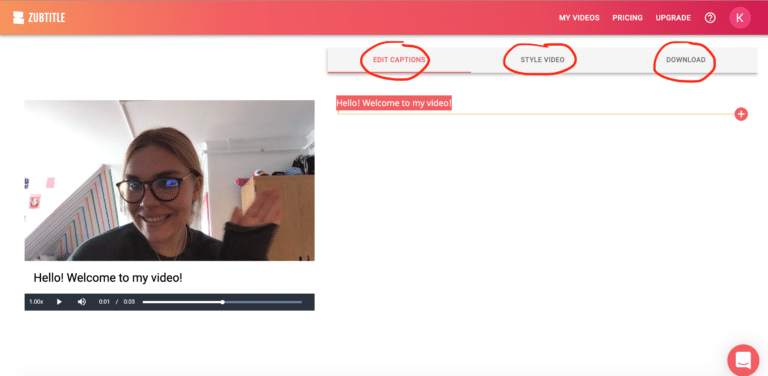
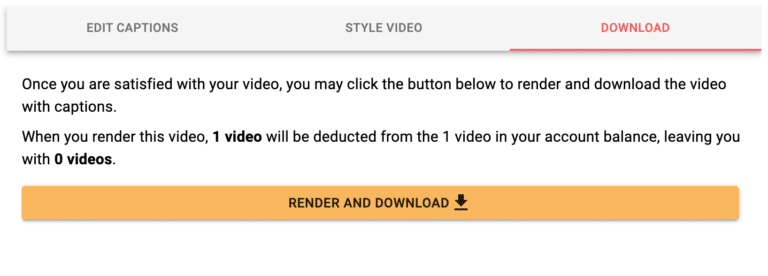
4. Now style your video. Choose the style, alignment, position, screen size, and add a headline if you want.
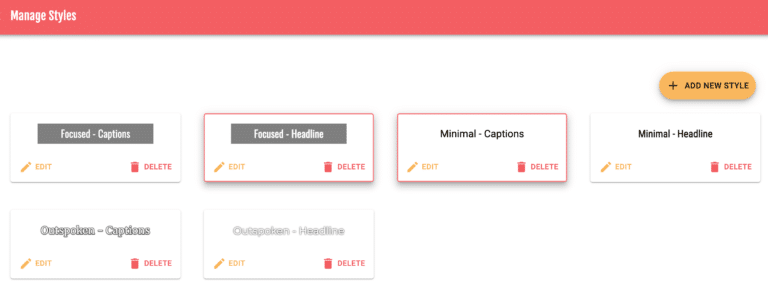
5. You can manage the different caption styles and add new ones as you please.
6. Now that you are happy with your final product, download your video.
Our Verdict?
Zubtitle is pretty easy to navigate and learn. We like the wide variety of font styles available.
Warning – you will get stuck in a rabbit hole trying to make your choice. It can be a little difficult to adjust the length of time you would like your caption to appear on the video.
On the free version, you can only work on one video at a time, because it doesn’t allow you to save. Once you download it, your video deletes from your profile. You will no longer have editing ability without re-uploading the whole thing.
For $19 a month you can upgrade to the Standard package. This includes 10 videos to save and edit to your Zubtitle account. We think this is a good price if you are producing an average of 2.5 videos per week.
You are only able to edit one video before deleting it from your account is a bit of a downer. If you are looking for free video captioning tools, we have reviewed some better options above!
Rating 3/5 – Tons of style options, Zubtitle is for you if you want free reign over your fonts!
6. Type Studio
Type Studio is a tool that allows you to add subtitles, translate your videos, and annotate videos.
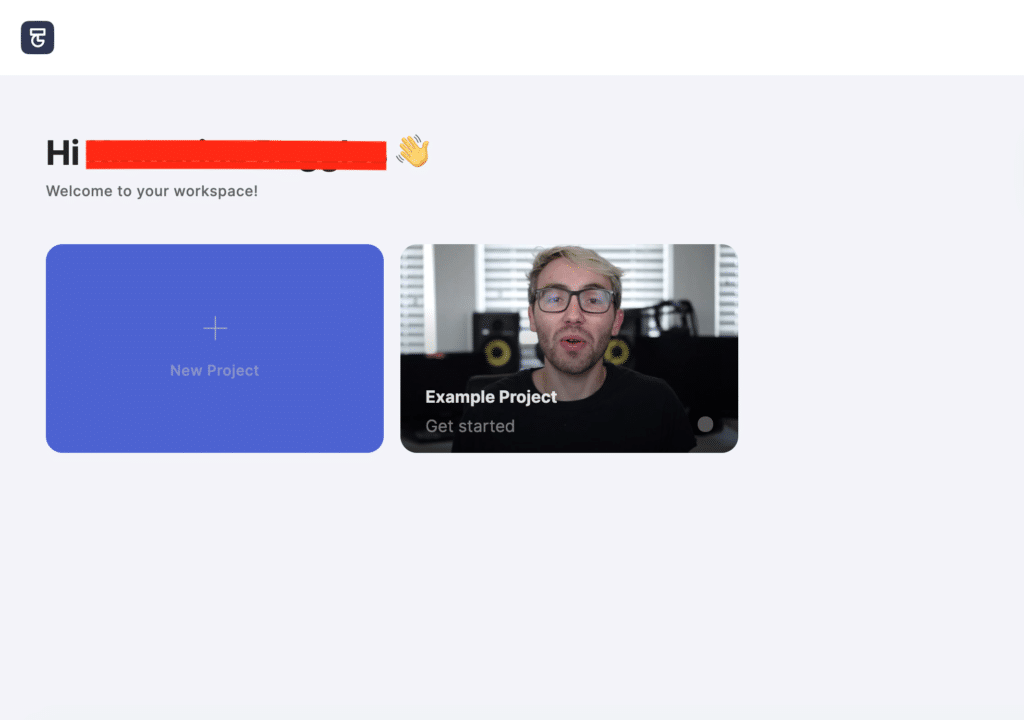
1. Go to https://typestudio.co/ to begin captioning your video and create a free account.
2. Click ‘+ New Project’ and select the video language. Drag and drop your video file or upload it from your computer to begin.
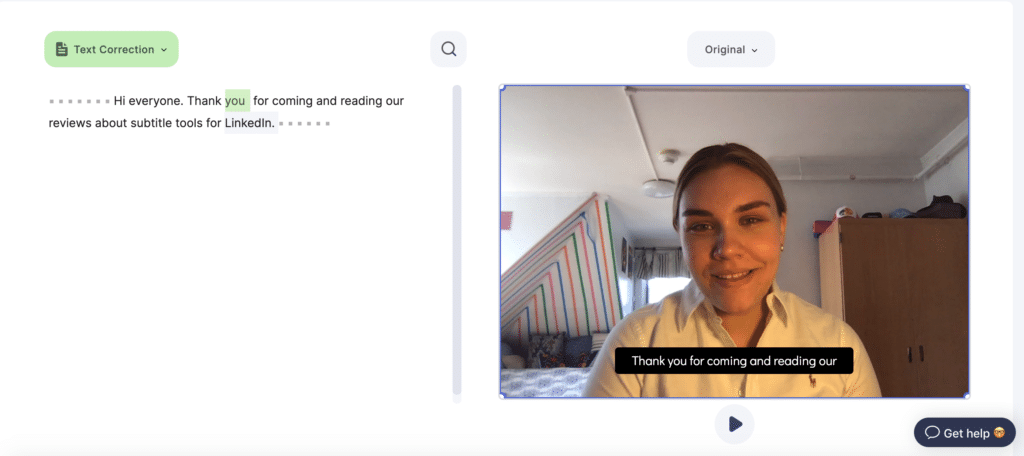
3. Once your video has been uploaded, edit the transcription Type Studio has provided.
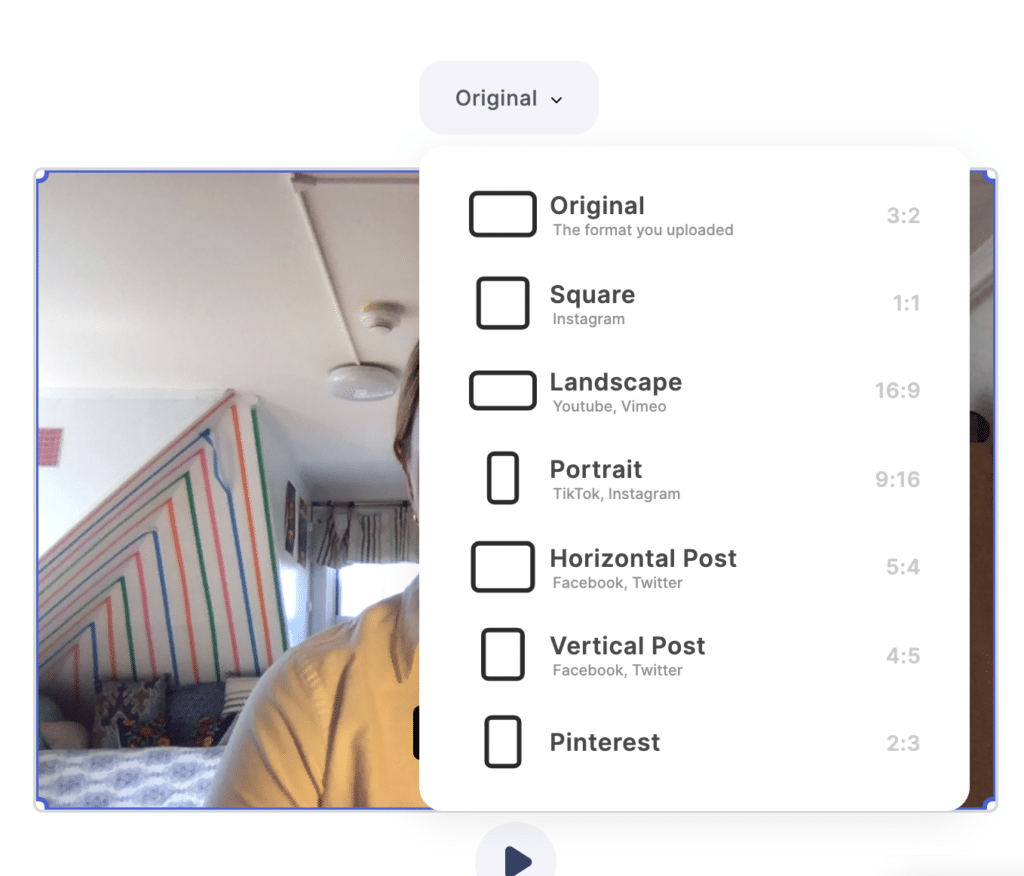
4. Select the dimensions for the size of your video based on the platform you are posting it to.
5. Once you are satisfied with your subtitles, export your video. You can either copy a link to your video or download it.
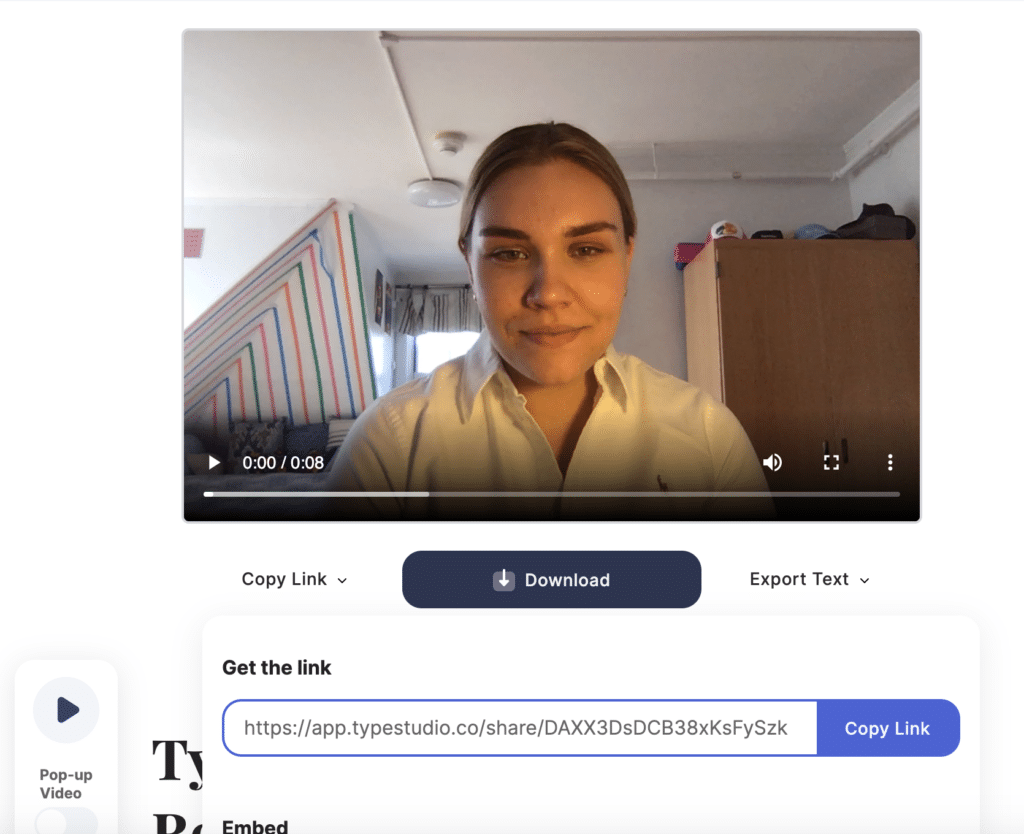
6. Using the link will allow for viewers to watch your video on you Type Studio profile.
Our Verdict?
Type Studio is great for those last minute videos where you need to add subtitles. With the free version you are able to edit the text, choose the size of your video, and download it. But you’re not able to change the positioning, colour, font, or display time of your captions.
Type Studio is definitely a great choice for beginners. While the free version does not offer that many features, the automatic transcription is wonderful.
For more of the customisable features, the Basic package is $14 a month and the Pro package is $24 a month. Both of these packages allow for you to style and even translate your subtitles.
Rating 3/5 – Considering we took the free version for a spin, the transcription and text editor were very easy to use
Which one should you use?
- Hassle free captioning -> Kapwing
- Separate captioning files -> Closed Caption Creator
